Tip #1: Take your time and be patient! Please don’t rush this as you want the best possible outcome. Really read the directions, and follow it closely.
Tip #2: I highly highly (did I say highly?) recommend waiting until your little one is sleeping before proceeding with the actual prints. This makes a world of a difference.
Tip #3: Knead the clay for at least 3-5 minutes. Consider it a mini workout! And if it’s a bit dry, use a touch of olive oil. But REALLY knead the clay. It comes in 3 separate packets, but by the time you are finished kneading it, it will be one seamless mass. Make sure not to knead it on a counter or anything, as the white clay picks up every little bit of anything. Just knead it with your hands without placing it on a surface.
Tip #4: After the prints are finished, make sure to give it plenty of time to dry. Put it on top of the fridge or somewhere out of site, and give it a solid 4-5 days. *Do not put in direct sunlight*
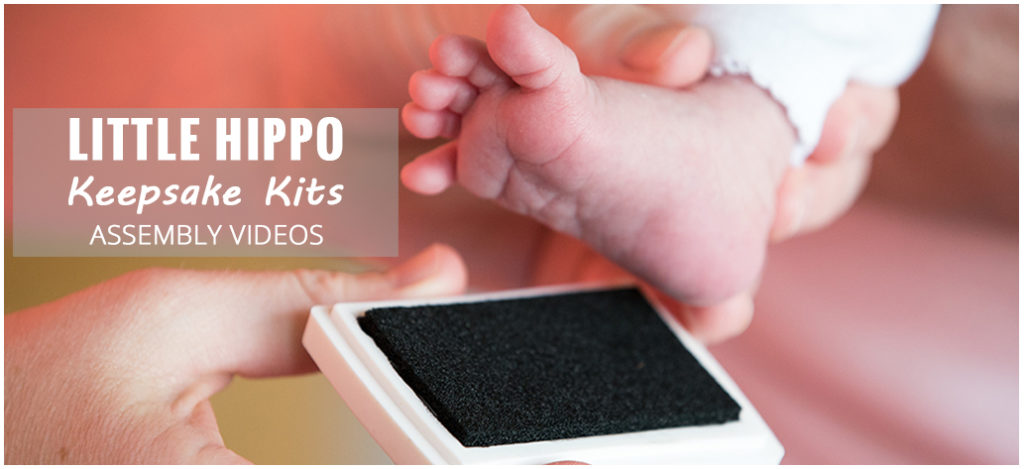
Ink Keepsake Assembly
Tip #1: Take your time and be patient! Please don’t rush this as you want the best possible outcome. Really read the directions, and follow it closely.
Tip #2: I highly highly (did I say highly?) recommend waiting until your little one is sleeping before proceeding with the actual prints. This makes a world of a difference.
Tip #3: Thoroughly cover your babies foot/hand with the ink so you get a very detailed print. It may get a little messy, but I promise the end results are worth it! (Think, a little messy now and beautiful prints forever, as opposed to no mess now and blurry prints in the future.)
Tip #4: Take a small pen to write on the inside of the backside of the frame insert. Note the date to truly freeze the moment in time. Perhaps write a little note of your feelings toward your little one at that moment to freeze in time also. This will be a beautiful surprise one day when your little one is all grown up, decades from now, and opens the back of the frame to see your note.
Ornamental Assembly Video
Tip #1: Take your time and be patient! Please don’t rush this as you want the best possible outcome. Really read the directions, and follow it closely.
Tip #2: I highly highly (did I say highly?) recommend waiting until your little one is sleeping before proceeding with the actual prints. This makes a world of a difference.
Tip #3: Knead the clay for at least 3-5 minutes. Consider it a mini workout! And if it’s a bit dry, use a touch of olive oil. But REALLY knead the clay. It comes in 3 separate packets, but by the time you are finished kneading it, it will be one seamless mass. Make sure not to knead it on a counter or anything, as the white clay picks up every little bit of anything. Just knead it with your hands without placing it on a surface.
Tip #4: After the prints are finished, make sure to give it plenty of time to dry. Put it on top of the fridge or somewhere out of site, and give it a solid 4-5 days. *Do not put in direct sunlight*